When it is time to move house, you are probably going to be transporting some of your kitchen appliances. This article covers our top tips to successfully transport your fridge freezer safely.
Estimated reading time: 5 minutes
Preparing the Fridge Freezer for Transport
1. Clear the Contents from Your Fridge or Freezer
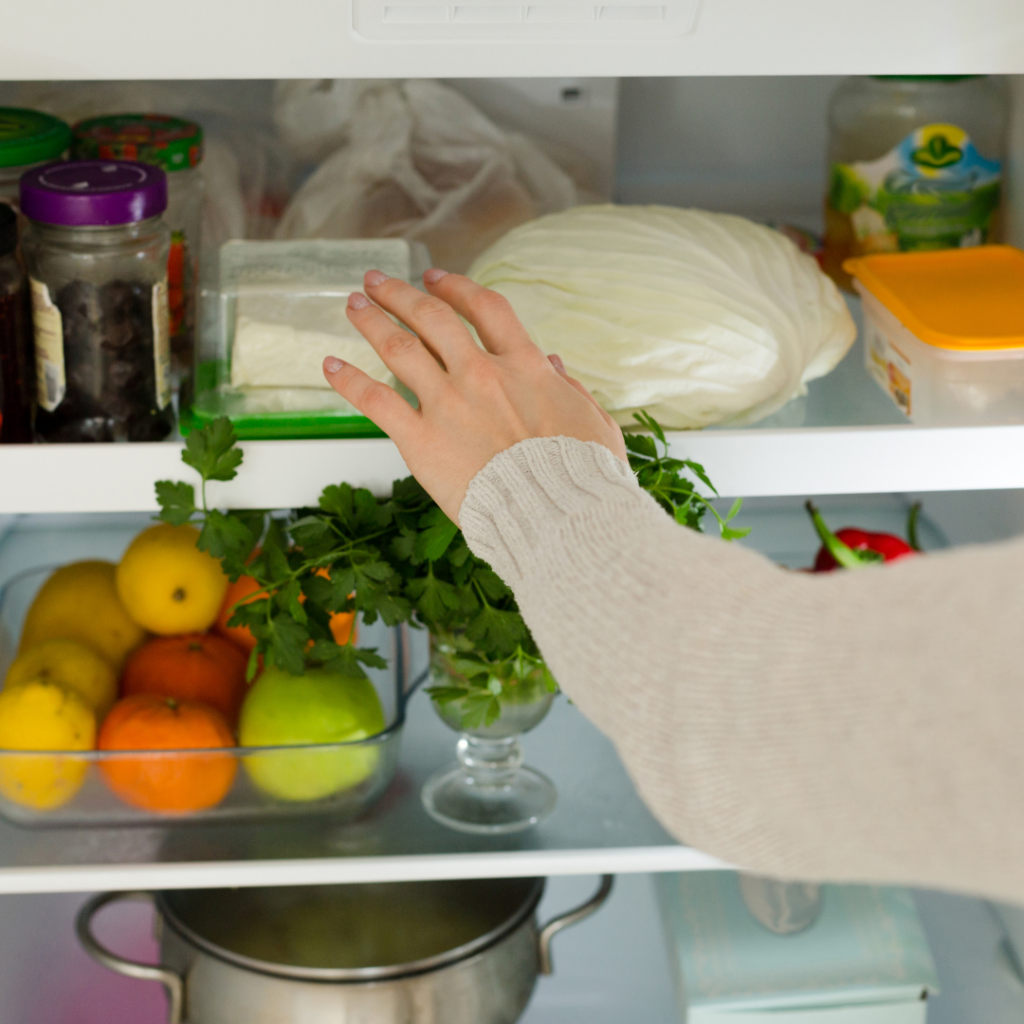
Take everything inside the fridge and freezer out. If you plan on taking certain food items with you, pack them in a well-insulated cooler bag and add in some ice packs if necessary. Consider donating any perishables that you do not plan to take with you. If you are unsure of what or where to donate, The Give Food Charity can help find food banks near you. If there are photographs, drawings or magnets on the outside of the fridge, don’t forget to pack them!

2. Unplug the Fridge or Freezer & Let it Defrost
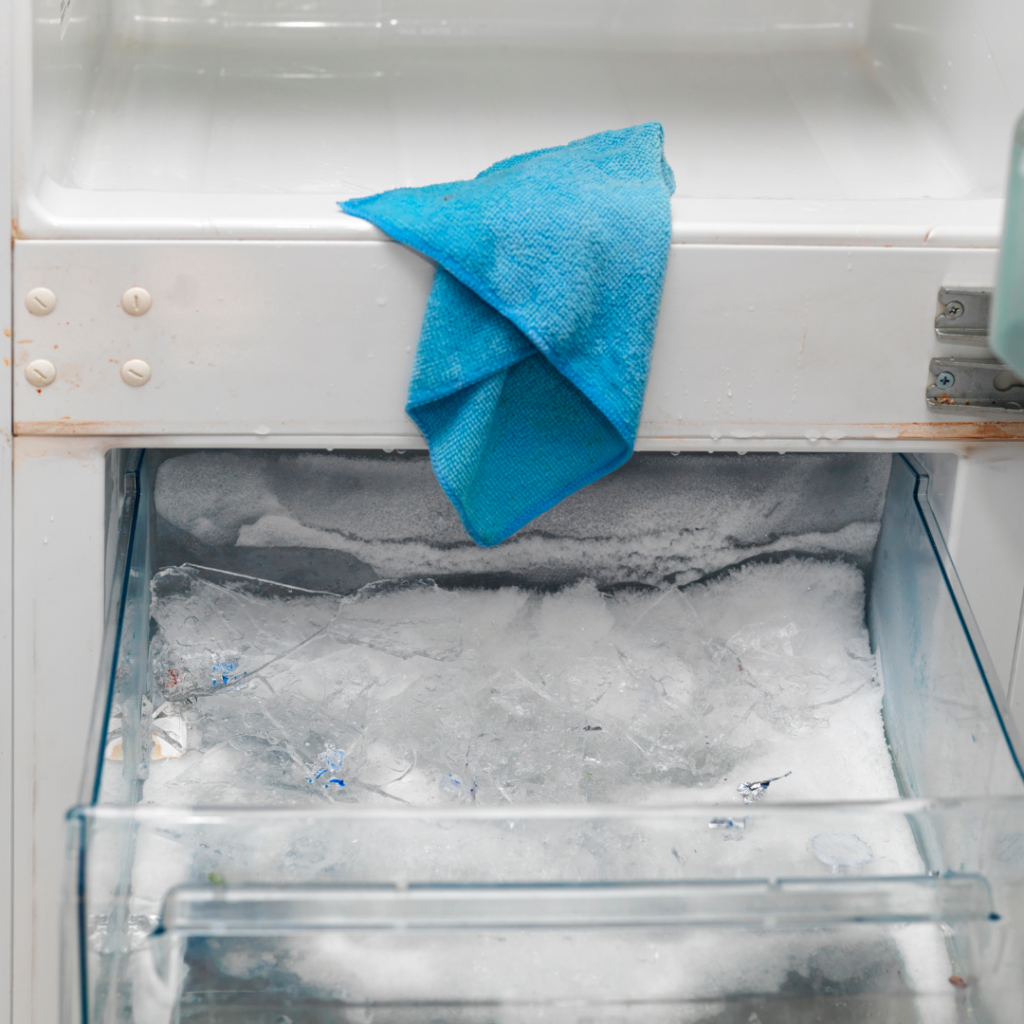
Unplug the fridge freezer from its power source. Wrap the cord into a bundle and tape it so that it is protected. Once this is done, it is time to defrost the fridge freezer. It is important to leave the doors open during the defrosting process with towels or cloths placed around the bottom of the fridge freezer. The melting ice will result in a good amount of water draining out so it is best to have something there to absorb it and not leave you with a wet floor. The defrosting process usually takes 6-8 hours but is dependent on the state of the freezer. We recommend defrosting your fridge freezer overnight.

3. Give Your Fridge Freezer a Good Clean
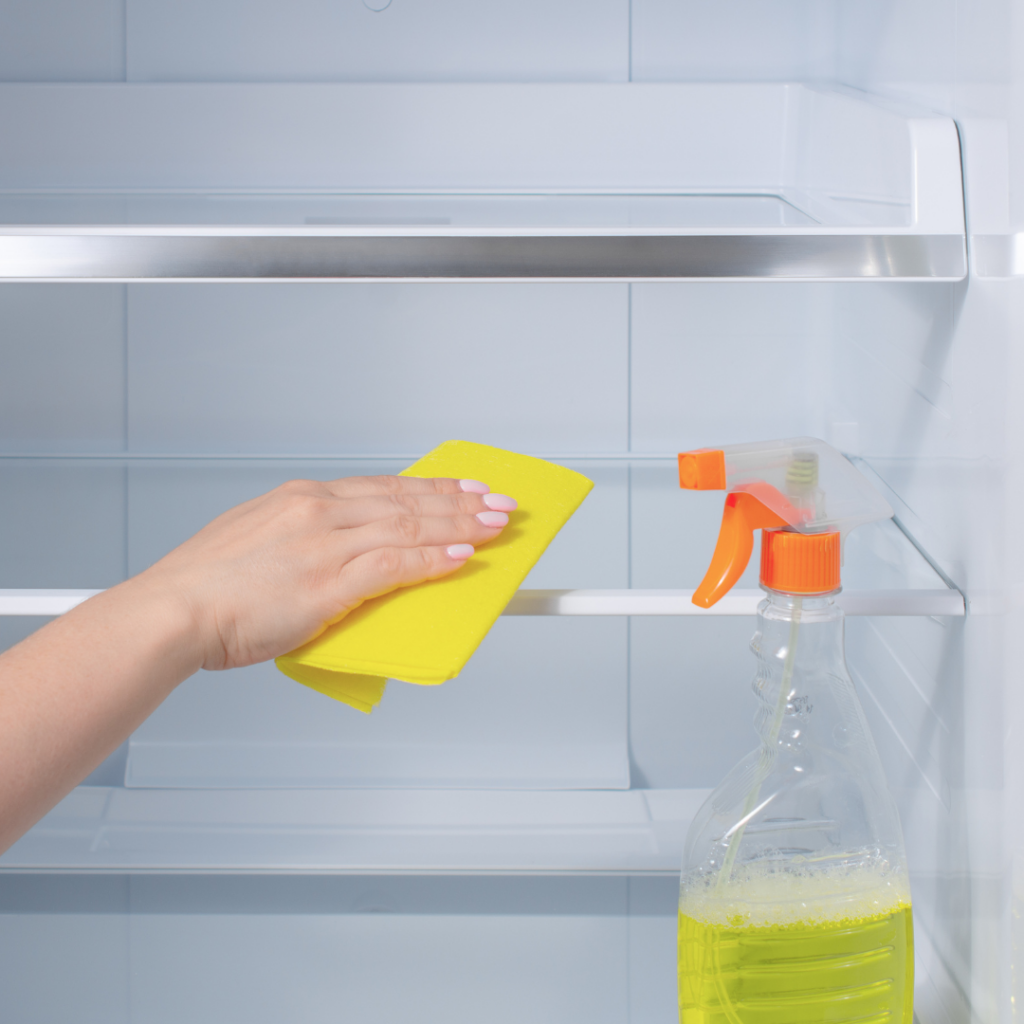
Now that you have successfully defrosted your fridge freezer, it is the perfect time to properly clean the inside of your appliance. Use a disinfectant to wipe down all of the surfaces, shelves and drawers. Ensure that it is completely dry before you close it. You will now open up a fresh and clean fridge when you arrive in your new home, and avoid the horrible smell that could develop in it if you didn’t.

4. Remove any Removable Parts from the Fridge Freezer
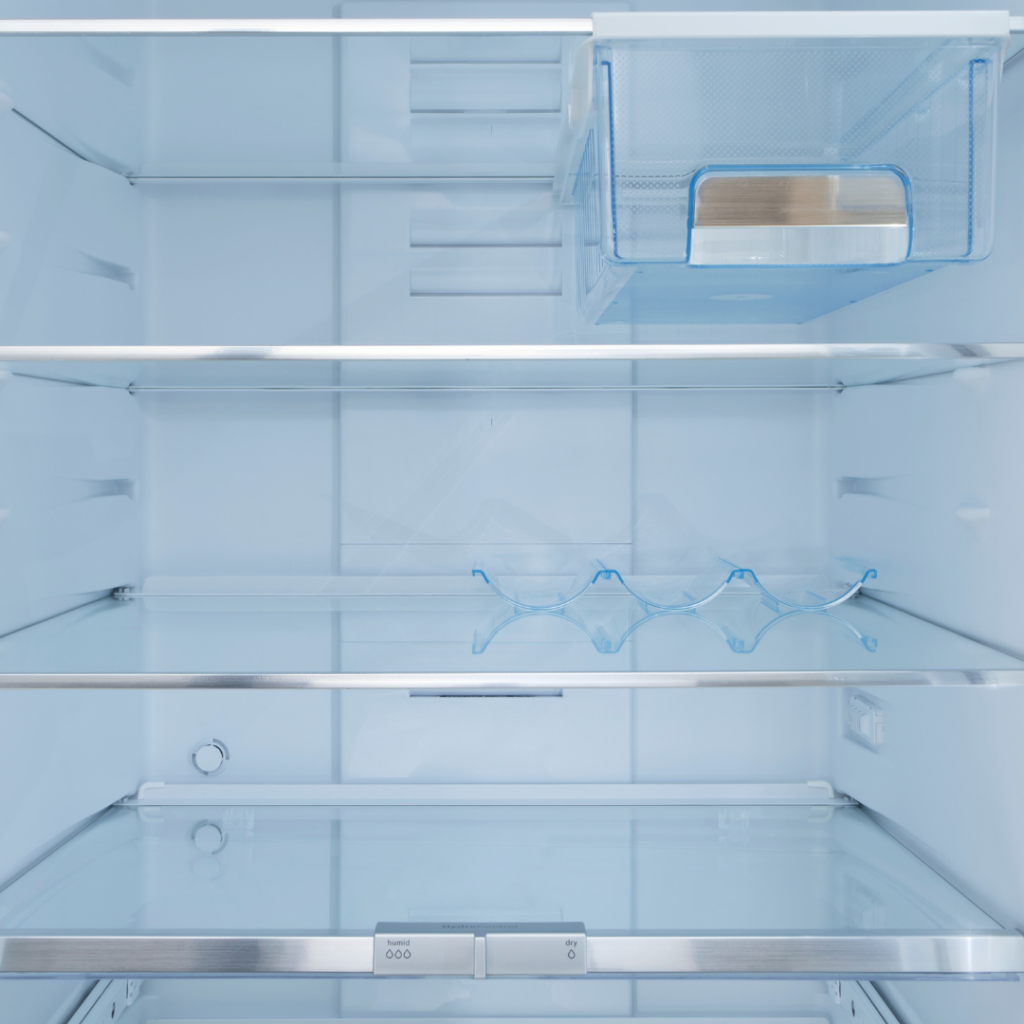
Safely take out the removable components of the fridge which could include the drawers, shelves, and trays. Once you have taken them out, wrap these items in towels or bubble wrap to protect them during the moving process. Label these items and carefully place them in their respective box ready for transport. If you prefer to not take the items out of the fridge freezer, you can secure them with some tape. We advise you not to use heavy-duty tape as this will leave a glue residue behind. Although we understand that this option may be more convenient, it is safer to take these items out and wrap them.

5. Close the Fridge or Freezer Doors and Secure Them
Close the doors of the fridge freezer. Tie the doors closed by wrapping a strong rope or cord around the fridge. If you have a double-door fridge, you can also tie the handles together. It is important to ensure that you have tied the cord or rope securely but avoid tying it too tightly as this can cause damage. If you don’t have a rope or cord, you can use tape. But keep in mind that the tape could damage the surface of the fridge freezer and may leave a sticky residue behind when you take it off. If you want to, you can bubble wrap the outside of your fridge for extra protection.
Find, Compare & Save on Your Move
Let’s Move Your Fridge or Freezer to Your New Home!
Now that you have successfully prepared your fridge freezer to be moved, it is important to note that it is a complex and tedious task that can lead to a lot of hassle. At Getamover, we want to take away that hassle and lift a weight off of your shoulders. That is why we recommend connecting with a top-rated moving company to assist you with moving your fridge freezer.
These trusted companies have the experience and equipment needed to safely lift and move heavy appliances. Plus, they know how to manoeuvre your fridge freezer well through those tight corners and up narrow stairs. Save time and money by Requesting a Quote from Getamover and get connected with up to 6 professional removal companies.
